

This week, we’ll be reading “The Long Rifle”. There is not much in the way of crafting going on in this chapter, however, we did come up with some fun family stuff, as well as some things to prepare for future chapters.
1.
Tell us how your adventures were!!
by Tracey4610
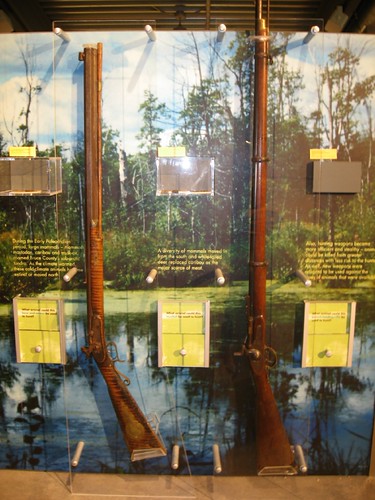
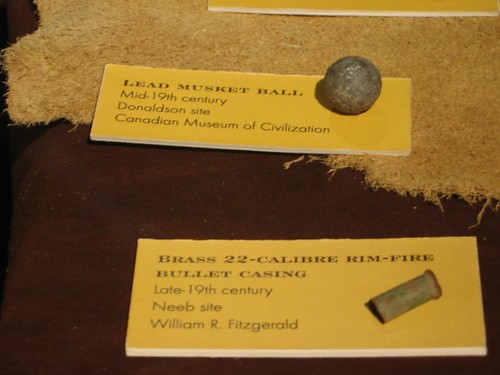
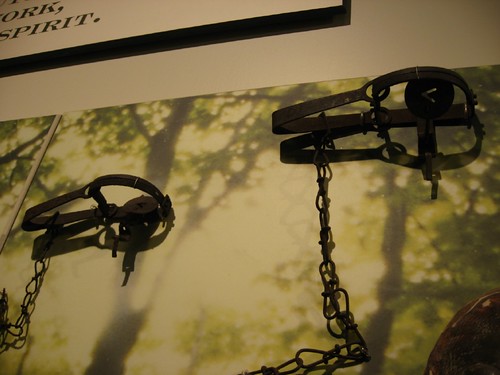
Some pictures by HatsFineandFancy on a museum visit
1.
- Go on a nature hike with the family. Use your senses to explore the area around you. Write down and also draw what you see, hear, and smell, as well as what some of the greenery feels like when you touch it. If you can, return at night or dusk and pick a spot in which to sit very still. Remember to take a flashlight with you, and cover it with red cellophane if you can (the red won’t hurt your eyes, and the animals around you won’t be disturbed by it, either). When you return home, write down what you experienced on your walk.
- As a family, discuss gun safety. If you have guns in the house, talk with your kids about the importance of not handling them without adult supervision. Also, if you have little ones in the house, discuss with them that what they may see on tv or in movies is not real, and that someone could get really hurt with guns. Don’t go overboard, and don’t be over-paranoid. Talk about how guns were a very important part of every day life in Laura’s time. For some people, guns still are. If you have boys, make for them a “bullet pouch” out of a simple bag pattern with a draw-string, and allow them to find small stones to fill it up with. Using some stuffed animals from your house, take them outside and have the animals ‘hide’. When your child finds them, he “shoots” them by tossing a stone at it (note: remind your child it is NOT okay to throw rocks at real animals!!).
- Since we’ll be doing a lot of sewing throughout the upcoming weeks, I think it would be prudent to make a sewing basket. Begin by looking for a nice-sized, sturdy, handled basket. Gather up the following: a sturdy piece of cardboard/plastic canvas/thin luan (used in making doors) or a thin piece of something that is big enough to fit over the circumference of your basket; a small amount of batting (if desired), enough fabric to cover the outside of the lid, the inside of the lid, plus fabric to line the inside of the basket coordinating fabrics to make pockets and such embroidery floss, if desired sewing needles pins coordinating thread buttons, if desired, for the inside ribbon, about 1/4”-5/8” wide (don’t know about international measurements) to use as hinges and to close the basket large button or toggle, or even a matching frog (a type of closure generally used in coats/capes, found at places like JoAnn’s and Hobby lobby) to close your basket . There are also several websites that have directions as well. 1 2 3 (or Tracey's very own tutorial copied over from our Ravelry group)
Tell us how your adventures were!!
by Tracey4610
Some pictures by HatsFineandFancy on a museum visit
No comments:
Post a Comment